If you’ve ever used a computer before; it’s likely you’ve experienced a hard drive failure, or you know someone who’s lost a bunch of data, or you’ve been told horror stories from someone.
Hard drives fail, it’s not a matter of if.. it’s a matter of when.
Most implementations for storing a large amount of data end up using multiple hard drives, or even a significant number of them. However, when you add more hard drives the likely hood of experiencing a single (or even multiple) drive failure goes up. This problem has a fairly simple solution, use more hard drives and store the data redundantly. There are no shortage of ways to do this - some notable examples include: RAID5, RAID6 (both in hardware and software), ZFS, proprietary commercial NAS products.
SMART (Self-Monitoring, Analysis and Reporting Technology) can tell us when there is potentially going to be, or if there is a problem with any of our hard drives; this technology is excellent on desktop and laptop computers, most of the time you’ll receive a notification right there on your computer. Or at the very least the error will be logged. On servers, the errors would get logged too. The errors being logged is a great start, but it requires reading the log files at one point or another.
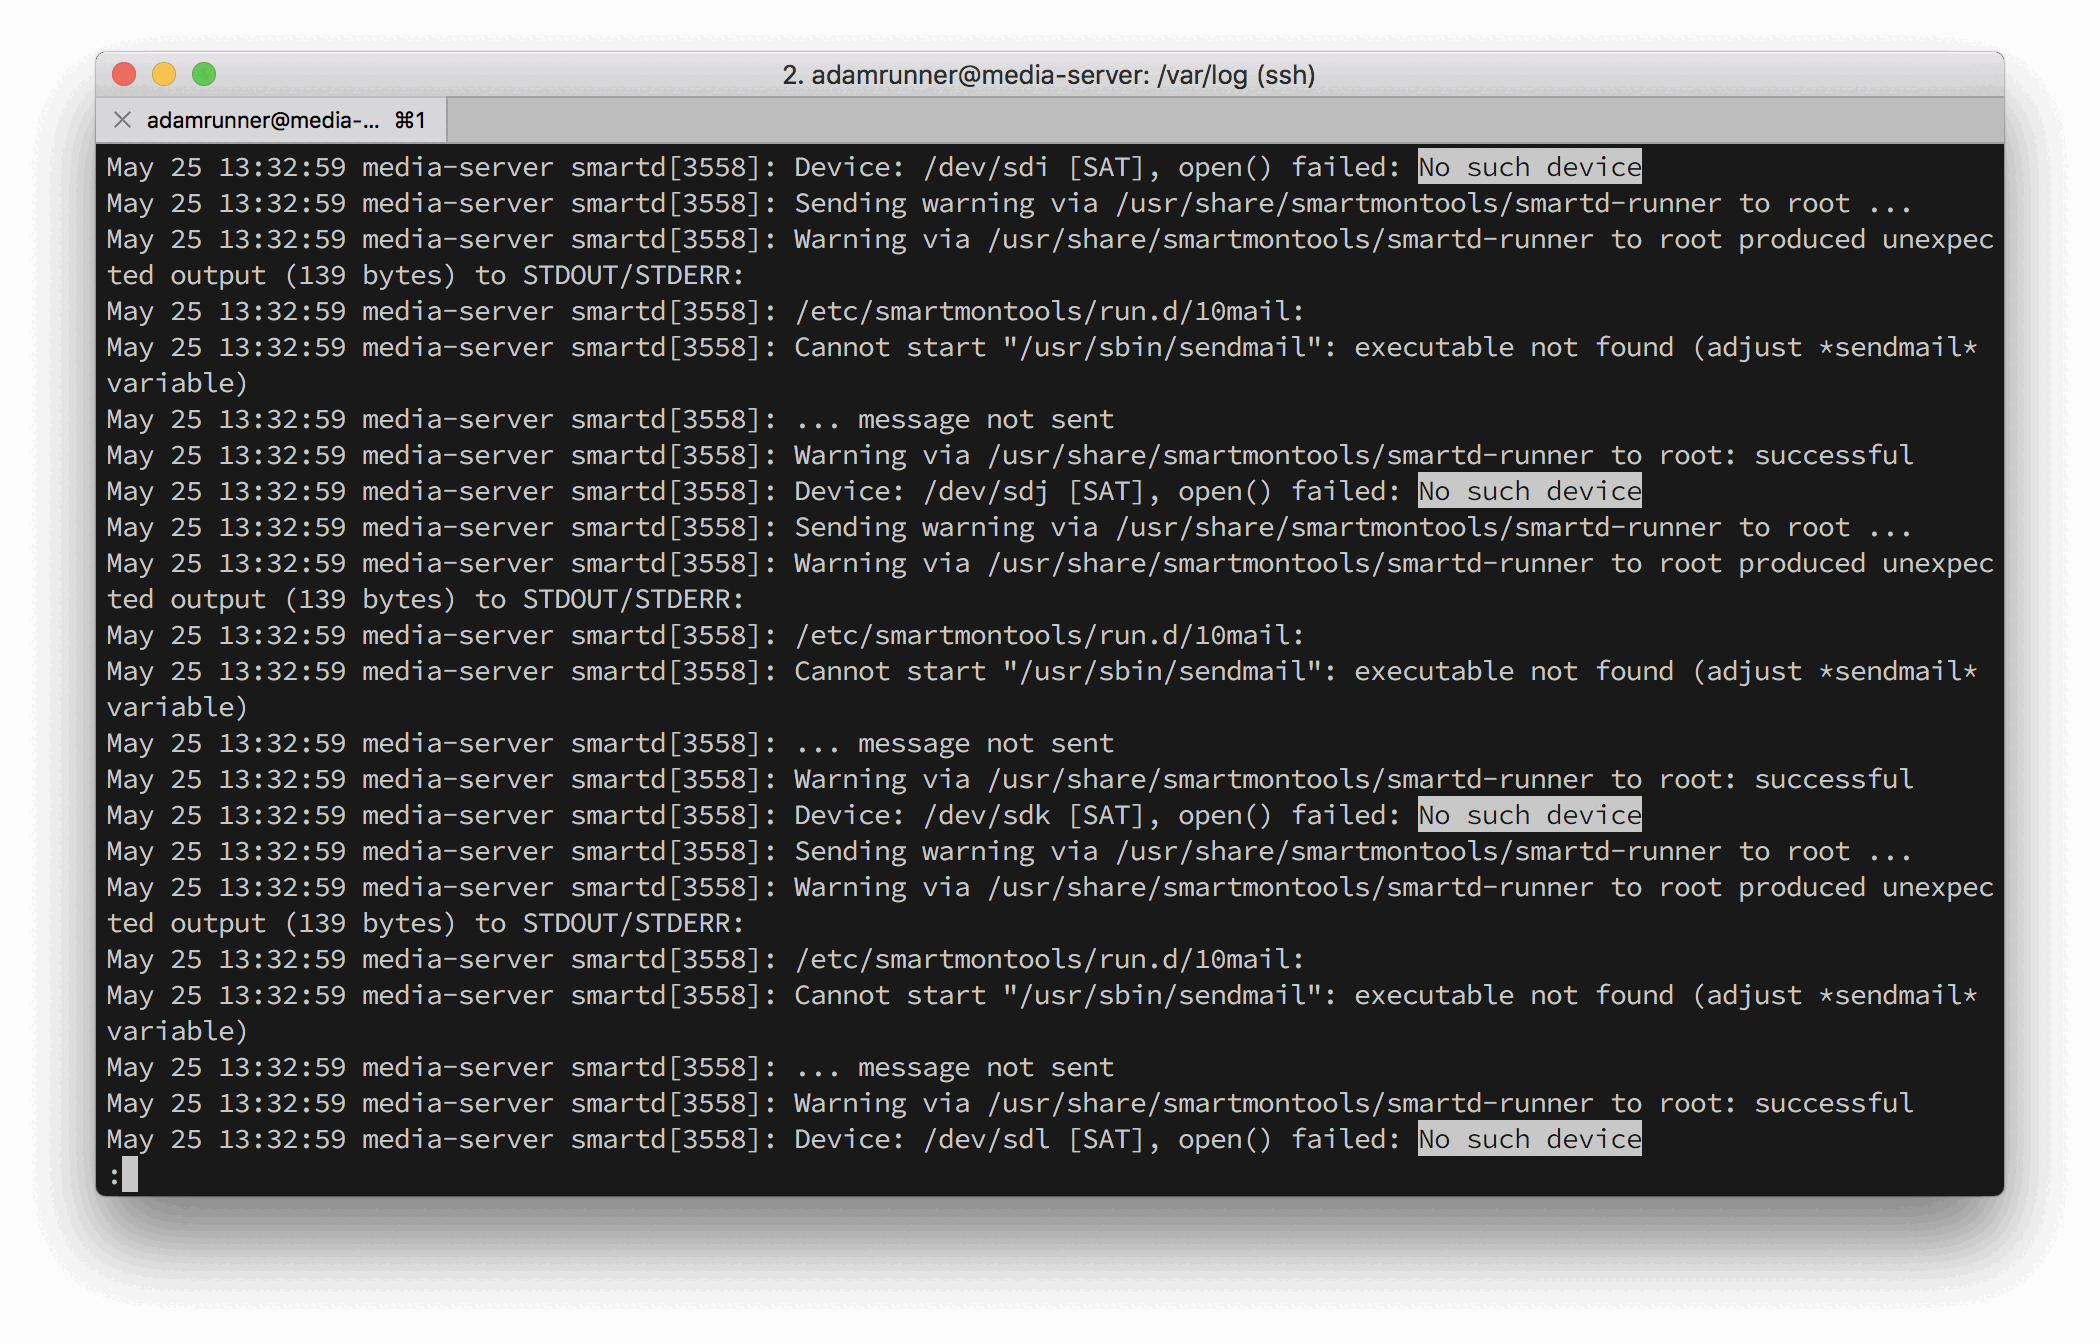 No such device. Not exactly what you want to see from
 smartd
In this case, it was apparent that the controller or the enclosure for these four drives was having a problem since they all disappeared at the same time.
Unfortunately, I didn’t realize there was an issue with the enclosure until well after these errors were logged (I was going back through doing some troubleshooting when I found the hard drive issues). One of the things I noticed was that smartd tried to alert me by using sendmail. This would be fine normally, however I didn’t have sendmail configured on this server to alert me via email.
Given that this was my personal server that holds all of my movies, I wanted to know sooner rather than later when there was an issue. I also like solving things a bit differently, so I opted to try and set up text message notifications to myself. That way it was about as obtrusive as possible so I can take immediate action if needed.
I decided to use Amazon’s notification service, Amazon SNS. Their service supports SMS / Text Message notifations. I opted for something simple like text message notifications instead of rich push notifications primarily for the ease of implementation. Text Messages already work excellently in most cases, and should be able to give enough information if there is a problem.
The Smartd notification process
How smartd sends notifications is fairly simple - all it does is execute a set of scripts. You can easily define your own scripts, and as long as they’re executable by the operating system. They’ll be ran. On Ubuntu 16.04, this magical directory is /etc/smartmontools/run.d.
You can write the script in whatever language you prefer, I personally used Ruby for this implementation. I chose Ruby primarily because I already had an implementation written to send SMS messages via AmazonSNS. All I had to do next was tap into the environment variables that smartd sets when sending a notification.
#! /usr/local/bin/ruby
# $1  - entire report
# SMARTD_MAILER=/usr/share/smartmontools/smartd-runner
# SMARTD_SUBJECT=SMART error (EmailTest) detected on host: XXXXX
# SMARTD_ADDRESS=root
# SMARTD_TFIRSTEPOCH=1267409738
# SMARTD_FAILTYPE=EmailTest
# SMARTD_TFIRST=Sun Feb 28 21:45:38 2010 VET
# SMARTD_DEVICE=/dev/sda
# SMARTD_DEVICETYPE=sat
# SMARTD_DEVICESTRING=/dev/sda
# SMARTD_FULLMESSAGE=This email was generated by the smartd daemon running on:
# SMARTD_MESSAGE=TEST EMAIL from smartd for device: /dev/sda
ACCESS_KEY_ID="your-aws-access-key"
AWS_SECRET="your-aws-secret"
require 'aws-sdk-sns'

class AmazonSns
  def self.send_message(phone_number, message)
    # Set credentials for AWS, these could also be set in environment variables.
    Aws.config.update({
      region: 'us-west-2',
      credentials: Aws::Credentials.new(ACCESS_KEY_ID, AWS_SECRET)
    })

    client = Aws::SNS::Client.new
    client.publish({
      phone_number: phone_number,
      message: message
      })
  end
end
phone_number = "+15555555555"
message      = "ERROR #{ENV["SMARTD_FAILTYPE"]} #{ENV["SMARTD_MESSAGE"]}"
AmazonSns.send_message(phone_number, message)
Even if Ruby isn’t your language, this should be fairly easy to read.
I pulled this script from a different application and adapted it. Could be simplified by removing the class definition, but it gives the snippet some structure.
The script sets the credentials to make the request to AWS and then uses the aws-sdk-sns gem to interact with the service and send a notification. All you’ll need to do is fill in the phone_number, ACCESS_KEY_ID and AWS_SECRET variables. The rest of the variables are set by smartd when it is executing the script. In the comment block at the top of the script, you can see the respective values for a test notification. I simply grabbed a couple of the variables and put them in a string to send in the message.
You can also alter the message variable to change the message that you receive. You’ll want to be somewhat careful here, as SMS messages have a pretty low character count. (~140 chars) I’m unsure if the AmazonSNS service will split longer message bodies into multiple texts or if it will simply truncate your text.
Setup and Testing of the script
Testing out this script is pretty easy! First of all, we’ll want to do a test run to ensure that we’re using the AWS gem correctly.
I saved this script on my computer, ensured the AWS gem was installed, set a couple of variables and we were off to the races!
adamrunner@media-server:~$ gem install aws-sdk-sns
adamrunner@media-server:~$ SMARTD_FAILTYPE=SmsTest SMARTD_MESSAGE="Test blah blah" ruby smartd-notify.rb
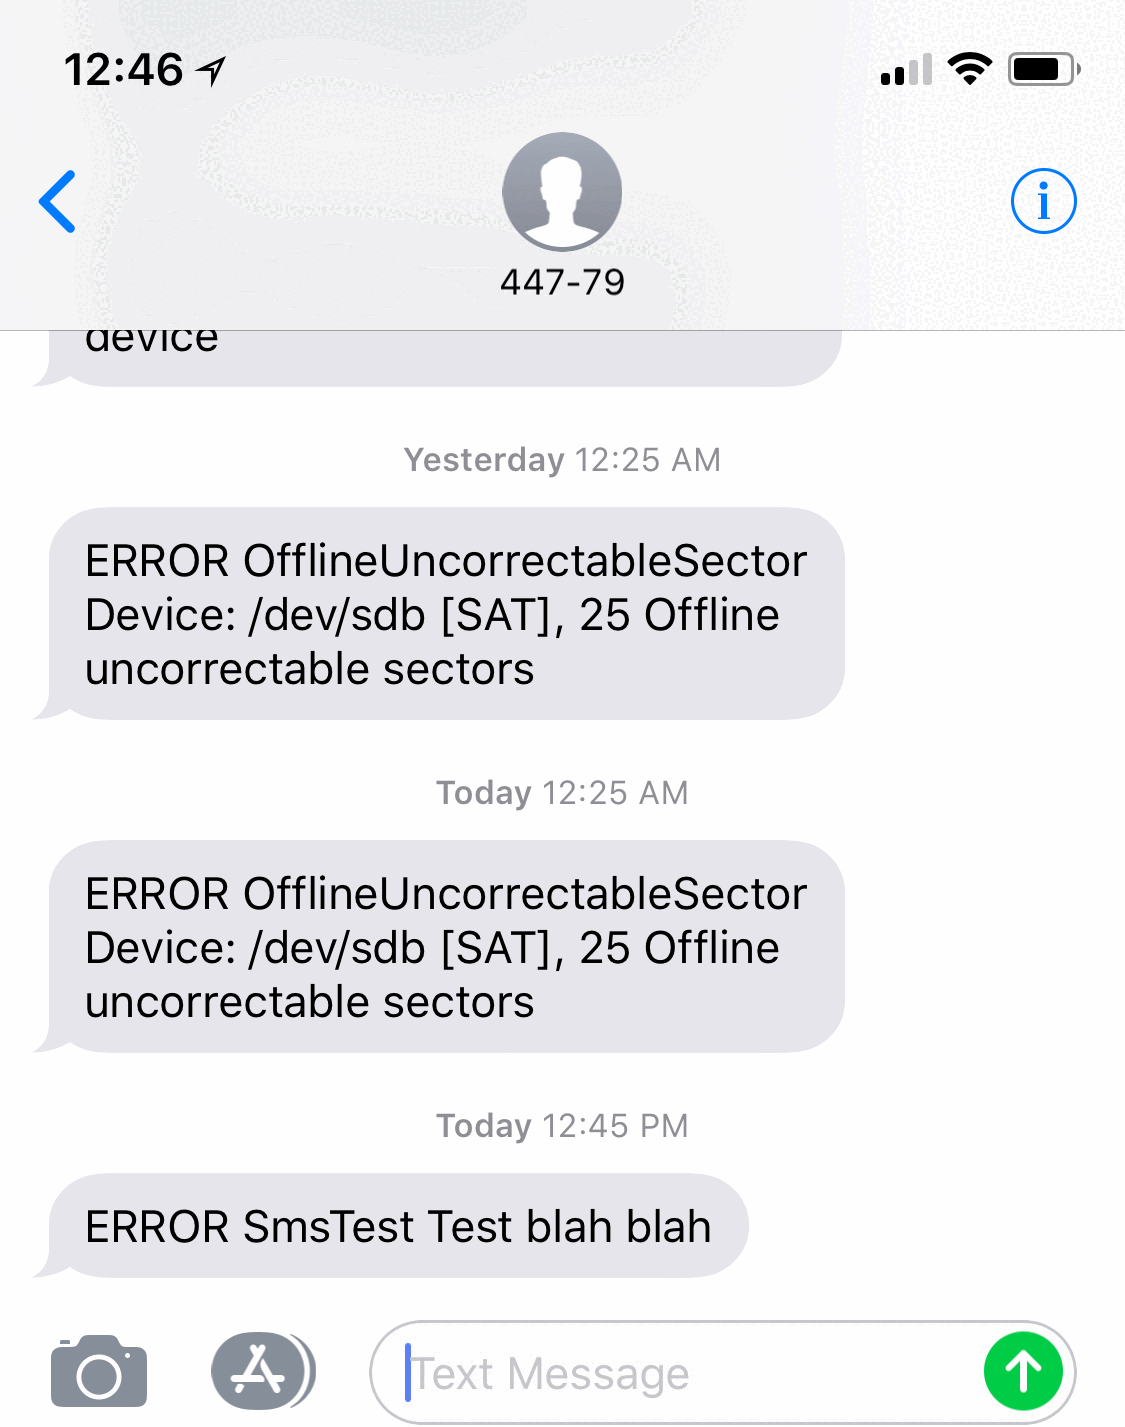 A test notification, along with some real unrecoverable sector errors too. The script works!
Script Location
For smartd to execute the script automatically it has to be in the correct spot, and executable by the OS. There’s a few important parts here.
Our script will need to:
- Be marked
chmod +x - Have a
#!(hashbang line) to define what should be executing it - Not have a file extension
- Be stored in
/etc/smartmontools/run.d/
We’ll use the which command to figure out what to put after the #! in our script.
Given the output below, your line would look like: #! /usr/local/bin/ruby
adamrunner@media-server:~$ which ruby
/usr/local/bin/ruby

adamrunner@media-server:~$ sudo mv smartd-notify.rb /etc/smartmontools/run.d/10sms
adamrunner@media-server:~$ cd /etc/smartmontools/run.d/
adamrunner@media-server:~$ sudo chmod +x 10sms
After the script is stored in the right place and executable, we’ll let smartd try it out!
Testing with smartd
smartd has it’s own method for testing notifications, this is great to verify that you’re using the correct environment variable names. Also is good for knowing what the notifications will look like from smartd. All you’ll need to do is edit the /etc/smartd.conf file, adding the directive -M test immediately after DEVICESCAN. Then simply restart smartd to test the notification system. sudo systemctl restart smartd (on Ubuntu).
# /etc/smartd.conf
...
DEVICESCAN -M test -d removable -n standby -m root -M exec /usr/share/smartmontools/smartd-runner

DEVICESCAN -M test -d ata -n standby -m root -M exec /usr/share/smartmontools/smartd-runner
DEVICESCAN -M test -d scsi -n standby -m root -M exec /usr/share/smartmontools/smartd-runner
...
Updated /etc/smartd.conf with testing added
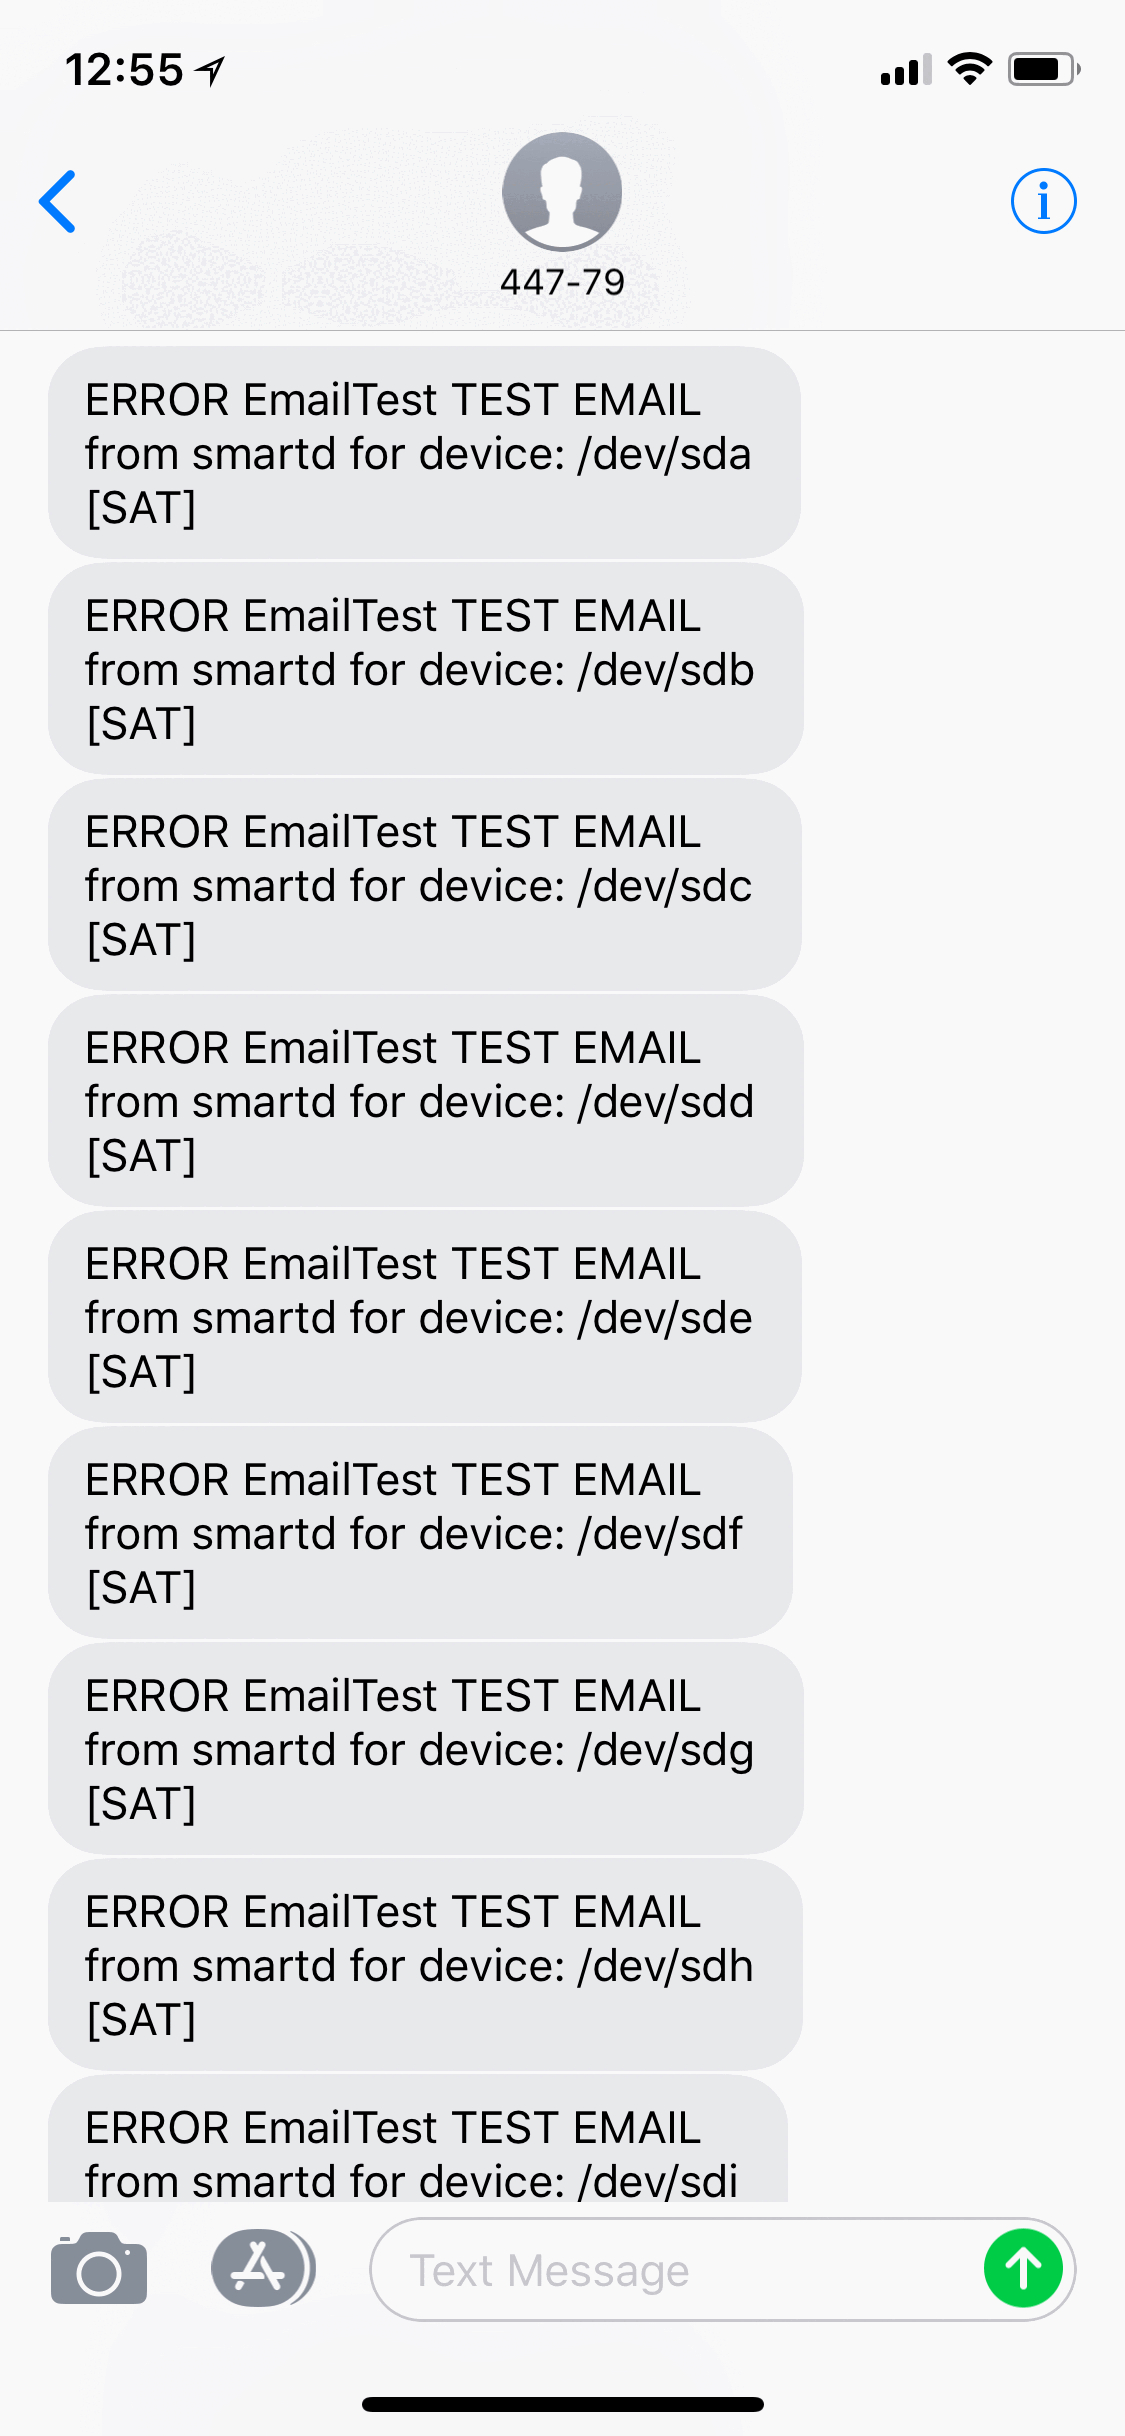
FYI smartd sends you one text for each drive. I got a nice barrage of text messages when testing
After restarting smartd you should receive an EmailTest message for each one of your attached drives that would be scanned.
If you received a notification, remove -M test from /etc/smartd.conf and restart smartd again, you’re now ready to receive notifications via SMS from smartd!
Conclusion
In my case, I also removed the other scripts from /etc/smartmontools/run.d so only my new notification script runs.